Screen printing is one of the most popular and trusted methods for printing designs on T-shirts. It is known for its bright colors, long-lasting prints, and professional finish. Even today, when many modern printing techniques are available, screen printing remains a top choice for bulk orders and premium quality garments. This article explains the entire screen-printing process step by step in a simple way that anyone can understand.
Whether you are curious about how printed T-shirts are made or planning to start your own printing journey, learning the basics of screen printing is helpful. In places known for quality apparel work like T-shirt printing in Chennai, this method is widely used because of its reliability and strong visual impact.
Let’s explore how screen printing works from start to finish.
Step 1: Creating the Design
The screen printing process begins with a design. This could be a logo, artwork, text, or illustration. The design is usually created using graphic software. Colors are carefully chosen because each color in the design will need a separate screen later.
Simple designs with fewer colors are easier and faster to print. That is why screen printing is perfect for bold logos, solid text, and large graphics. Once the design is finalized, it is prepared for printing by separating each color layer.
Step 2: Preparing the Screen
A screen is made using a fine mesh stretched tightly over a rectangular frame, usually made of wood or aluminum. This mesh allows ink to pass through in selected areas.
To prepare the screen, a special light-sensitive coating called emulsion is applied evenly over the mesh. After coating, the screen is left to dry in a dark environment to prevent early exposure.
This step is important because the quality of the screen directly affects the final print.
Step 3: Transferring the Design to the Screen
Once the screen is dry, the design is transferred onto it. The design is printed on a transparent sheet and placed on top of the coated screen.
The screen is then exposed to bright light. The light hardens the emulsion everywhere except where the design blocks it. After exposure, the screen is washed with water. The unexposed emulsion washes away, leaving open areas in the shape of the design.
These open areas are where the ink will pass through during printing.
Step 4: Preparing the T-Shirt
Before printing, the T-shirt must be prepared properly. The fabric should be clean, dry, and wrinkle-free. Most screen-printed T-shirts are made of cotton or cotton blends because these fabrics absorb ink well.
The T-shirt is placed flat on the printing board and aligned correctly. Proper alignment ensures the design is printed in the correct position, whether it’s on the chest, back, or sleeve.
Step 5: Mixing the Ink
Ink selection is an important part of screen printing. Different inks are used depending on the fabric and desired finish. The ink is mixed to match the exact color needed for the design.
Consistency matters here. The ink should not be too thick or too thin. Well-mixed ink ensures smooth printing and even color coverage on the T-shirt.
Step 6: Printing the Design
Now comes the actual printing process. The prepared screen is placed over the T-shirt. Ink is poured onto the screen above the design area.
A tool called a squeegee is used to spread the ink across the screen. With firm and even pressure, the ink is pushed through the open areas of the mesh and onto the fabric below.
If the design has multiple colors, this process is repeated using separate screens for each color. The T-shirt is dried slightly between each color layer to avoid smudging.
Step 7: Drying the Ink
After printing, the ink must be dried before moving to the next step. This is usually done using heat. Drying helps the ink settle into the fabric and prevents it from spreading.
At this stage, the print may look complete, but it is not yet permanent. Proper curing is still needed to make the print long-lasting.
Step 8: Curing the Print
Curing is the process that makes the print durable. The printed T-shirt is exposed to higher heat for a specific amount of time. This allows the ink to fully bond with the fabric fibers.
Once cured properly, the print becomes resistant to washing, stretching, and regular wear. This is why screen-printed designs are known to last for years without fading or cracking.
Step 9: Quality Checking
After curing, each T-shirt is checked for quality. The print is examined for color accuracy, alignment, and clarity. Any defects like smudges, uneven ink, or misprints are removed.
This step ensures that only clean and professional-looking T-shirts move forward.
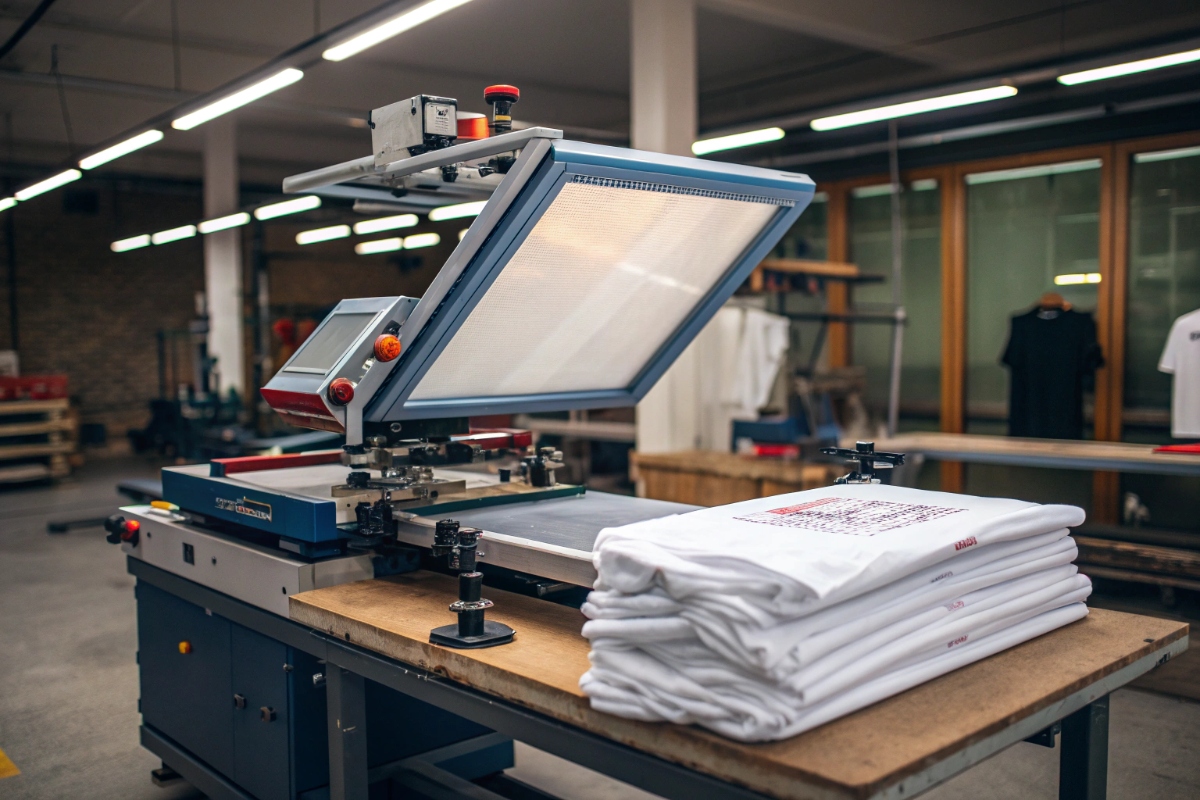
Step 10: Folding and Packaging
Once the T-shirts pass the quality check, they are neatly folded and packed. They are now ready for delivery, sale, or distribution.
This entire process, when done correctly, produces high-quality apparel suitable for events, branding, promotions, and everyday wear. This is why screen printing is widely chosen for customized T-shirts Chennai, especially when consistency and durability are important.
Why Screen Printing Is Still Popular
Screen printing remains popular because it offers many benefits:
- Strong and vibrant colors
- Long-lasting prints
- Cost-effective for bulk orders
- Works well on different fabric types
- Professional and clean finish
It may take more setup time than some modern methods, but the final result is worth it, especially for large quantities.
Final Thoughts
Screen printing is a well-structured process that combines creativity, precision, and craftsmanship. Each step plays an important role in ensuring the final T-shirt looks great and lasts long. From preparing the design to curing the print, attention to detail is what makes screen printing stand out.
Understanding this process helps you appreciate the effort behind every printed T-shirt and why screen printing continues to be a trusted method in the apparel industry.