
I’ve always believed that a good trek doesn’t need exaggerated poetry or dramatic build-up. It just needs honesty. Har Ki Dun is one of those treks that speaks for itself. If you’re looking for a clear, no-nonsense guide that tells you exactly what to expect—this is it.
I’ll walk you through the itinerary the way I experienced and understood it, step by step, without fluff, without over-selling, and without wasting your time.
What Makes Har Ki Dun Worth Doing
In the Uttarakhand Garhwal Himalayas, Har Ki Dun stands peacefully. It’s often called the “Valley of Gods,” but for me, it felt more like a living museum—ancient villages, wooden houses, local stories, and trails that haven’t been rushed by tourism.
This trek works well if:
-
You want a Himalayan experience without extreme difficulty
-
You enjoy forests, rivers, and open valleys more than technical climbs
-
You want culture along with scenery
It’s not flashy. It’s authentic.
Har Ki Dun Trek Itinerary (Day by Day)
Day 1: Dehradun to Sankri (Drive)
The journey starts from Dehradun. From here, it’s a long but scenic drive to Sankri, the base village for the trek. Expect around 8–10 hours on the road.
The drive slowly pulls you away from city noise and into mountain rhythm. You pass through Mussoorie, Purola, and Mori, with the Tons River keeping you company for a good part of the route.
Sankri itself is a small village, calm and functional. No tourist chaos. Just basic homestays, cool air, and the feeling that you’re finally where you need to be.
Day 2: Sankri to Taluka to Pauni Garaat / Seema
From Sankri, there’s a short drive to Taluka, the actual starting point of the trek. The road is rough but manageable.
The trek from Taluka begins gently. This day is all about easing into the trail. You walk through dense forests, wooden bridges, and alongside the Supin River. The path is well-defined, and the incline is gradual.
Villages like Pauni Garaat or Seema become your halt for the night. These villages don’t feel staged—they’re lived in. You’ll see locals going about their daily routines, which adds a grounded feeling to the trek.
Day 3: Seema to Har Ki Dun Valley
This is the day everything opens up.
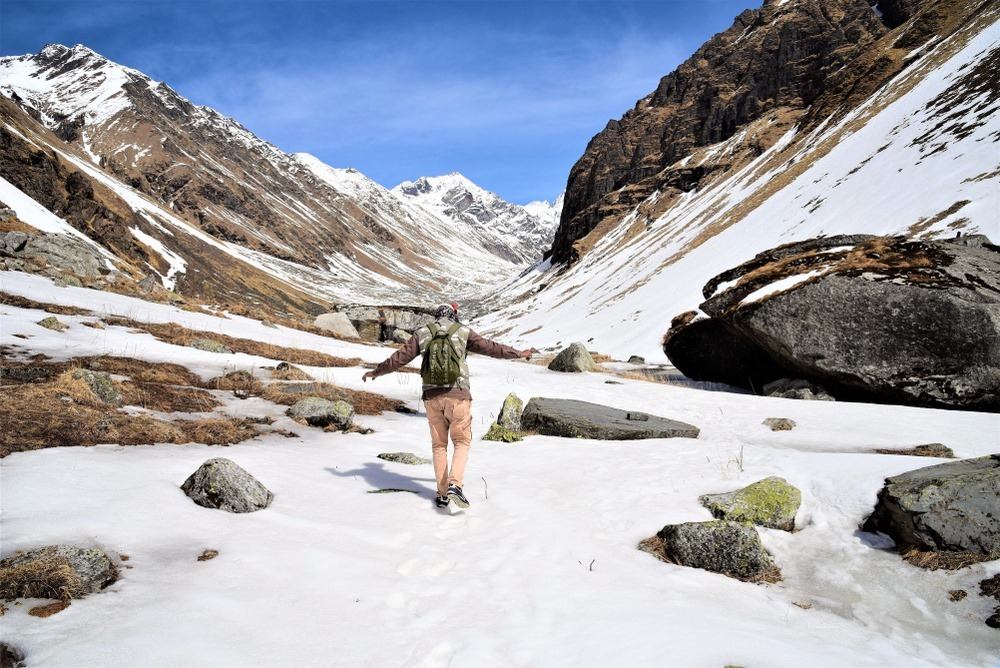
The trail climbs steadily, and suddenly the valley starts revealing itself—snow-capped peaks, wide meadows, and a silence that feels earned. Har Ki Dun valley sits at around 11,700 ft, and the temperature drops noticeably.
This is where most people slow down—not because it’s hard, but because there’s too much to take in. Swargarohini peaks dominate the skyline, and the valley feels protected, almost enclosed.
You stay overnight at the Har Ki Dun campsite.
Day 4: Exploration Day (Jaundhar Glacier or Maninda Tal)
This day is optional but highly recommended.
You can explore nearby areas like Jaundhar Glacier or Maninda Tal depending on weather and energy levels. These walks are lighter, meant for acclimatization and exploration rather than pushing limits.
I found this day important—not physically, but mentally. It allows you to absorb the place instead of rushing through it.
Day 5: Har Ki Dun to Seema
The return starts, but it doesn’t feel repetitive. Descending gives you a different perspective of the same trail. Light hits the valley differently. Forests feel quieter.
By the time you’re back in Seema, your body is tired, but your pace is comfortable. This is when the trek starts feeling personal.
Day 6: Seema to Sankri
You retrace your steps to Taluka and drive back to Sankri. The sense of completion hits here—not dramatically, but steadily.
A hot meal, a proper bed, and familiar faces make Sankri feel oddly welcoming.
Day 7: Sankri to Dehradun
The drive back marks the official end of the trek. Conversations are quieter. Everyone’s a little reflective. That’s usually a good sign.
Best Time to Do Har Ki Dun Trek
-
April to June: Spring bloom, clear trails, moderate weather
-
September to November: Post-monsoon clarity, crisp views, colder nights
Winters are beautiful but challenging due to snow. Monsoon months are usually avoided.
Difficulty Level and Fitness
Har Ki Dun is a moderate trek. You don’t need technical skills, but basic fitness matters. You’ll be alright if you can walk with a rucksack for six to seven hours every day.
The key is pacing, not speed.
Guided Trek Experience (A Practical Note)
While the trail isn’t overly complicated, I personally prefer guided treks in regions like this—not for convenience, but for local insight, safety, and smoother logistics.
During my planning, I came across The Searching Souls, a trekking group that operates in this region. What stood out wasn’t marketing—it was their focus on small groups, local involvement, and straightforward planning you can checkout their har ki dun trek package for booking your trek. They weren’t trying to “sell” Har Ki Dun. They just understood it.
If you’re someone who prefers clarity over chaos, that kind of approach makes a difference.
What to Pack (Essentials Only)
-
Good trekking shoes
-
Warm layers (especially for nights)
-
Rain protection
-
Reusable water bottle
-
Basic medicines
No overpacking. Har Ki Dun rewards lightness.
Final Thoughts
Har Ki Dun doesn’t demand attention. It earns it.
This trek is for people who value steady trails, quiet villages, and landscapes that don’t need filters. If you go expecting drama, you might miss the point. If you go with patience, it gives back more than expected.
That’s just the kind of adventure we require at times.
