In the world of electrical engineering and DIY power systems, the integrity of a connection is just as important as the quality of the wire itself. When working with 6 AWG wire lugs, you are dealing with a gauge commonly used in high-demand applications like automotive battery banks, solar power inverters, and marine electrical systems.
A “good enough” connection can lead to voltage drops, overheating, and even fire hazards. To ensure safety and efficiency, understanding the nuances of selecting and installing 6 gauge AWG battery lugs is essential.
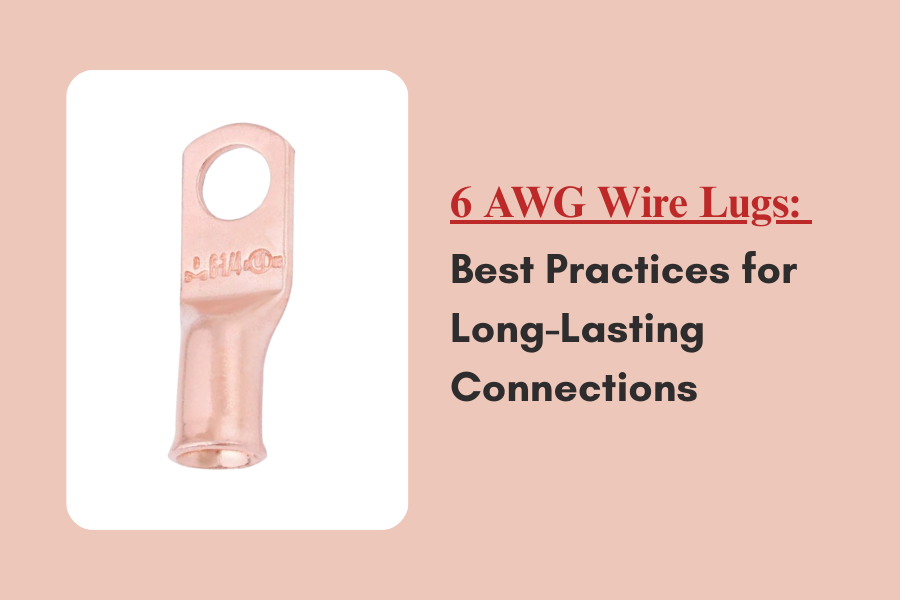
Understanding 6 AWG Wire and Lug Compatibility
Before picking up a crimper, it is vital to understand what 6 AWG (American Wire Gauge) represents. A 6 AWG copper wire has a diameter of approximately 4.11 mm. Because it is designed to carry significant current—often up to 55–75 amps depending on the insulation rating and environment—the point of termination must be robust.
A wire lug is a heavy-duty connector that transitions the stranded wire into a solid metal tab that can be bolted to a terminal. When sourcing 6 AWG wire lugs, look for “Seamless Tubular Copper.” These are manufactured from a single piece of copper tubing, which prevents the lug from splitting during the crimping process and provides superior conductivity compared to stamped, folded versions.
Choosing the Right 6 Gauge AWG Battery Lugs
Not all lugs are created equal. Depending on your environment, the material and plating of your 6 gauge AWG battery lugs will determine the lifespan of your system.
Material and Plating
Standard copper lugs are excellent for dry, indoor environments. However, for automotive or marine applications, electro-tin plated copper lugs are the gold standard. The tin coating acts as a sacrificial barrier, preventing the copper from oxidizing (turning green), which can lead to increased resistance and eventual failure.
Closed-End vs. Open-End
For maximum protection, choose “Closed-End” or “Bell-Ended” lugs. A closed-end design ensures that moisture cannot creep into the stranded wire from the terminal side, protecting the cable from internal corrosion.
Eyelet Size
Ensure the hole (eyelet) of the lug matches the stud size of your battery or busbar. Common sizes include 1/4″, 5/16″, and 3/8″. A lug with an oversized hole reduces the contact surface area, leading to heat buildup.
The Step-by-Step Installation Process
Achieving a professional-grade termination requires the right tools and a disciplined approach. Follow these steps to ensure your 6 AWG wire lugs stay secure for years.
Step 1: Stripping the Insulation
Use a dedicated wire stripper to remove just enough insulation so the bare wire fits completely into the barrel of the lug. The insulation should sit flush against the base of the lug. Avoid using a utility knife, as nicking the copper strands reduces the effective gauge of the wire and creates weak points.
Step 2: Mechanical Crimping
This is the most critical step. There are three common methods for securing 6 gauge AWG battery lugs:
- Hexagonal Crimpers: These provide the most uniform pressure, squeezing the lug from six sides to create a “cold weld” where the air is forced out and the copper strands become a solid mass.
- Indentor/Hammer Crimpers: These are budget-friendly but require care to ensure the lug isn’t over-deformed.
- Soldering: While some prefer soldering, it is generally discouraged in high-vibration environments (like vehicles) because solder can wick up the wire, making it brittle and prone to cracking.
Step 3: The “Pull Test”
Once crimped, give the lug a firm tug. If there is any movement or if the wire slides out, the crimp was unsuccessful. A proper crimp should be physically impossible to remove by hand.
Environmental Protection: Heat Shrink is Not Optional
Even the best crimp is vulnerable to the elements. To finish your 6 AWG wire lugs installation, always use adhesive-lined heat shrink tubing.
Unlike standard heat shrink, the adhesive-lined variety melts an internal glue as it shrinks, creating an airtight, waterproof seal between the wire insulation and the lug barrel. This prevents “wicking,” where moisture travels up the wire strands via capillary action, rotting the cable from the inside out.
Best Practices for Long-Term Maintenance
- Torque Matters: When bolting your 6 gauge AWG battery lugs to a terminal, use a torque wrench if possible. Over-tightening can strip threads, while under-tightening causes arcing.
- Anti-Corrosion Paste: In high-moisture areas, apply a thin layer of dielectric grease or specialized electrical joint compound (like Noalox) to the mating surfaces before bolting them together.
- Regular Inspections: Every six months, visually inspect your connections. Look for discoloration (a sign of heat), fraying strands, or loose nuts.
Summary of Key Specifications
|
Feature |
Best Practice for 6 AWG |
|
Lug Material |
Pure Copper (ASTM B152) |
|
Plating |
Electro-Tin Plated |
| Crimp Style |
Hexagonal Cold Weld |
| Sealant |
Adhesive-lined Heat Shrink |
| Stud Sizes |
#10, 1/4″, 5/16″, 3/8″ |
Conclusion
Using high-quality 6 AWG wire lugs and following a rigorous installation process is an investment in the reliability of your electrical system. Whether you are building an off-grid solar array or upgrading a vehicle’s charging system, the terminal is the “handshake” between your power source and your load. By choosing the right 6 gauge AWG battery lugs, using the correct crimping tools, and sealing the connection against the elements, you ensure a low-resistance path that will perform safely for the life of the equipment.